Flower Frame
I’ve been wanting to make some floating frame cards ever since I saw this video by Jennifer McGuire, so when the latest Simon Says Monday Challenge was Beautiful Blossoms, I figured it was the perfect time to try.
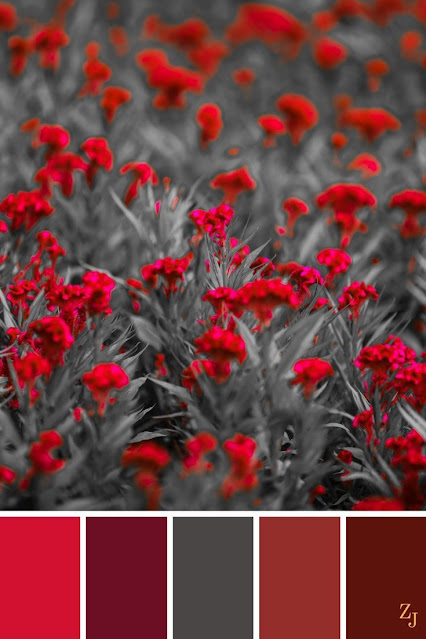
Since I have the Altenew Spring Daisies stamp set, I decided to use that. This is the color palette I chose.
I don’t have enough dye inks in shades of red, so I used my Distress Oxide ink pads (note to self: find dye inks in a wide range of reds). I used Candied Apple, Fired Brick, Aged Mahogany, and Barn Door for the reds, plus Hickory Smoke and Weathered Wood for the grays.
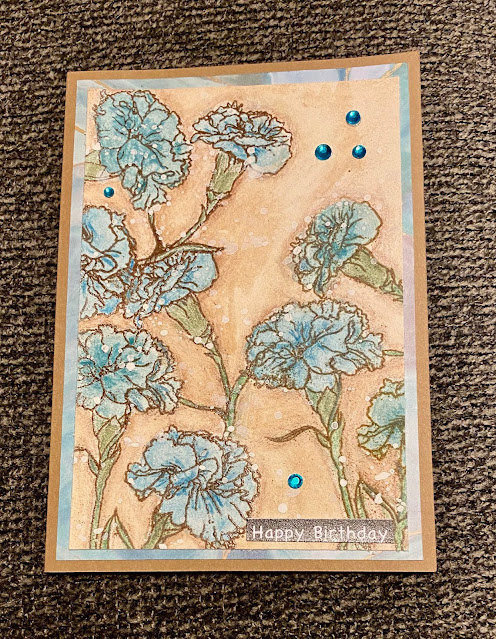
After stamping with this set, I wasn’t happy with the way the flowers & leaves looked. This set only stamps an outside line design and 1 layer of color that leaves the rest of the flower blank. To fix that, I added a second, different, shade of ink to each one using a small paint brush.
After cutting them out with the coordinating dies, I wasn’t happy with the white edge the dies leave around the design. With the need to group these closely together, the white takes up too much room. I ended up fussy cutting each flower & leaf.
I put a gray mat on the outer frame card because I didn’t want all that white space with my color palette, and, therefore, I embossed the sentiment in white. It also ended up having too much space in the middle, given the small sentiment stamp I used, so I added one of my leftover flowers.
On the second card I put a gray frame around the flowers and a small sentiment in the bottom right corner. I added Nuvo Drops in Ebony Black on both cards to fill it in a bit and add more interest (still practicing with these).
Ok, lessons learned:
- The size of the flowers should be a little smaller, these were a bit too large to work well for this technique. There’s no way to have a full flower anywhere on the outside frame. I have the Altenew Painted Flowers set. I think that one would look nice.
- I need to get some plain rectangular frame dies, i.e., no stitching. The stitching caused problems with the Glad Press & Seal, sticking in the space between the stitches. I couldn’t get some of it off and the stitching cut too far through the cardstock in places.
- Use the next smaller size rectangle die next time. I cut too much off the edges. It would have been better to have a smaller center portion and wider outer frame.
- Get some more colors of dye ink. The Distress Oxides leave a dull finish that didn’t show the shades to best advantage. If I’d thought of it, I’d have sprayed the flowers and leaves with a glossy sealer before or after die cutting.
- If I’m going to use a colored mat under the “frame”, it needs to be the full size of the card front. You can see the white around this card, and when attaching the stamps with the Press & Seal, some of the pieces kind of slid off the edge of the mat and look crooked.


Comments
Post a Comment