Posts

Showing posts from April, 2021

Purple Daisies

Image
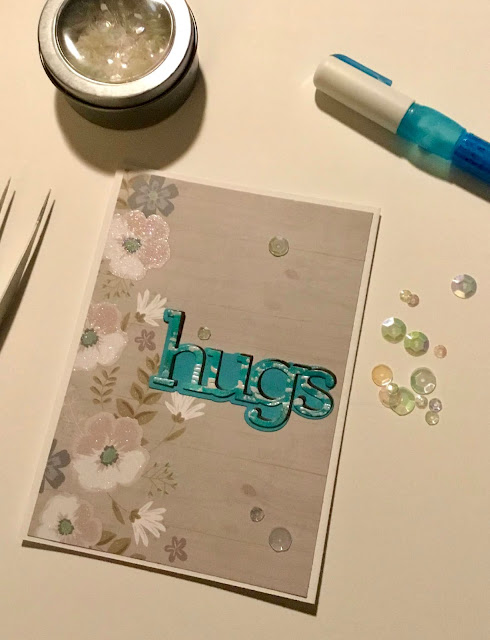
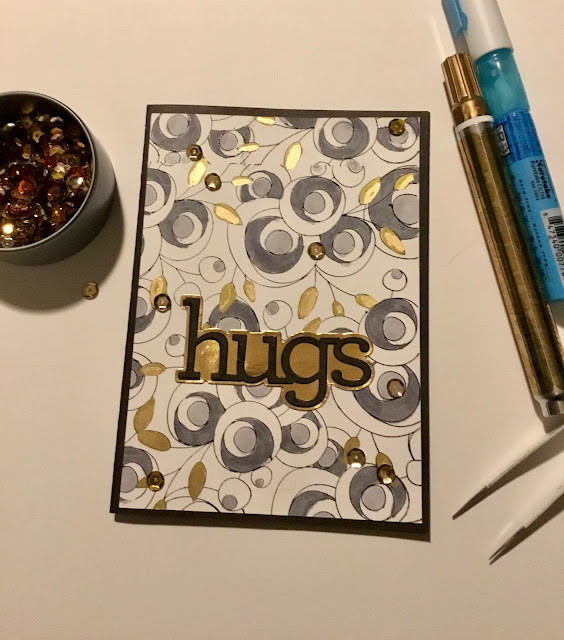
Well, here’s another one that required some saving. For the  MFT Wednesday Sketch Challenge - Sketch 538 , I pulled out the Simon Says Drawn Daisies stamp since it’s perfect for square cards.  I stamped it on marker paper, colored it with Copics, and then used my Cricut Maker to cut out the design. At the same time I cut the 5-1/2” square card blank and a mat of 5-1/4” square. I also cut out the part next to the circle in an ombré print paper.  I used my stitched circle die set to cut down the size of the colored circle and cut the next size up in black cardstock. After gluing all the pieces to the mat I decided it looked too dull so sprayed it with a glossy sealer. When dry, I decided that the ombré paper really didn’t work, so I peeled it off as best I could. I cut another one from black cardstock and glued it in place. That was better, so I added the “Hugs” sentiment & called it a day. Since I used another “hugs” sentiment, I also entered it in the Simon Says: Sending Hugs chal

Deceptively Simple

Image
I don’t have a lot of Lindy’s Stamp Gang products yet, just a number of embossing powders and 2 sets of the Magicals (Nantucket Pearls & Industrial Chic) but I really wanted to participate in this month’s challenge,  Lindy’s Fun April Color Challenge . I want to win so I can buy more Lindy’s products, I love their stuff! So, I took a chance on a wild idea. I was going to use the Cosmic Pink Blue embossing powder as a sort of resist with the Time Travel Teal Magicals powder. I’d then put it behind a die cut flourish as a background.  After stamping a crackle design (Simon Says) on watercolor cardstock, I embossed it with the Cosmic Pink Blue. Once set, I sprinkled the Time Travel Teal powder over it and spritzed with water. I then used a water brush to move it around and fill in all the gaps. Epic fail. I don’t know what I was thinking but it looked AWFUL.  How to save this monstrosity? Maybe it wouldn’t be so bad on a smaller scale, so I die cut it with the Simon Says “hugs” layere

Elegant Hug

Image
For the  The House That Stamps Built Theme Challenge A2121 ~ Sentiment As A Highlight , I thought something with a bit of elegance would work nicely; so I chose black, white, gold, & gray as my palette. For the background I decided to use my Simon Says Spring Flower stamp and for the sentiment the Simon Says layered “Hugs” die set (yep, entering this one in the Simon Says: Sending Hugs challenge too). After stamping it on marker cardstock, I colored it with gray Copics and a gold leaf pen. I cut it to size and then cut the background of the sentiment die in gold once, and the text in black twice. I glued the black words together and then attached them to the gold background. I attached the background to an A6 black card base, added the sentiment, and glued on some gold sequins. I don’t know if I’d call it elegant, but I’m really happy with how it looks. Thanks for stopping by! Sandy

Hawaiian Influence

Image
For the  Simon Says: Bright, Cheerful Color s challenge, I decided to go back to an old favorite and use my Poppy Moments die set. For the palette I went with a bright turquoise and yellow. I was going to add red too but in the end decided it would be too much. To begin with I sprinkled Brushos Turquoise on a piece of watercolor cardstock and spritzed it with water. Once that was dry I added some more turquoise, and also some walnut crystals, and spritzed it again. I just love how this turned out! It reminds me of Caribbean island water. On a second piece of watercolor cardstock I used Brushos in Yellow and Lemon. Once dry, I cut the turquoise cardstock using the Poppy Moments lacy-type die and trimmed it down (I accidentally cut too close to the design so trimmed it smaller. Since it’s so bright the extra white border seems to work!). I cut the yellow with the smaller flower die (I made 2 but only ended up using one). Next I cut the flower center from black cardstock. For the sentimen

Agapanthus Sympathy

Image
Not having any sympathy cards in my stash, I figured it would be a good idea to make one. I’ve always felt that clean designs are best for these cards, so the timing for the  Simon Says: Clean And Simple challenge was excellent. I decided to use this card from Lauren Alarin for my inspiration, but to use my Hero Arts Agapanthus stamp & die set.  This way, I could use the colors from the MFT Color Challenge 163 and enter it, and then also enter it in the DRU Challenge #167 - Anything Goes since DRU carries Hero Arts products. Three challenges, one card! Woot! First I stamped the images on marker cardstock and colored them using Copic Sketch markers. After cutting them out using the coordinating dies, I also cut strips of white cardstock using a Pinkfresh Studio die. Once I had cut a piece of vellum larger than I would need, I attached the strips of white, and then trimmed the whole thing to size and attached it to a white card base.  Next I stamped the sentiment on white cardsto

Spring Crocus

Image
For me, seeing crocus flowers is the real sign spring is here. Peeking out of the snow, lavender and purple, they always make my heart happy.  Therefore,  The House That Stamps Built Theme Challenge A1421 ~ Signs of Spring card had to be crocuses. I was also making this card for Altenew’s April 2021 Inspiration Challenge: A Bird’s Nest in Springtime , so the colors made sense. I downloaded an SVG coloring page and used Cricut Print Then Cut. After sealing the paper using Plaid Patricia Nimrocks Clear Acrylic Sealer, I colored the image using Copic Sketch markers and then colored the sky using Lindy’s Magicals Whale Watch Blue as a watercolor. After matting on black & robin’s egg blue cardstock, I embossed the sentiment in silver, added some light green rhinestones, and put it on a white card base. Thanks for stopping by! Sandy

Elegant Texture

Image
For the MFT Wednesday Sketch Challenge - Sketch 537 , I decided to go with textures instead of colors, & keep it simple & elegant. Using my Cricut Maker I cut the card blank & design pieces from white cardstock. I also cut 2 strips for the edges from glossy black.   On the blank I used a polka dot embossing folder. Since it was an A2 folder and this is an A6 card, I moved it around, lining up the dots, to cover the entire front.  I cut the oval and strip with a Pinkfresh Studio cover plate, moving the design 90 degrees. Next I die cut the ‘hello’ using a CZ Design Simon Says die. After attaching everything I added some black lace flowers and rhinestones. Since I think this design fits the “clean” description I’m also going to enter it in the Simon Says: Clean And Simple challenge as well. Well, at the last minute I decided to only put one lace flower on the top of the card. Here’s the revised version: Thanks for stopping by! Sandy

Pretty Tag

Image
For the  Simon Says: Not A Card challenge, I made a tag. Not being Christmas, I just made a general tag, that can be hung on a notebook or backpack, in shades of blue. Using my Cricut Maker, I cut out a tag blank from white cardstock and, then, sliced the design into 3 pieces cutting one in light blue, one in a dot print, and one in navy. The light blue piece I embossed using a curly design folder. Afterwards, I used a Distress Oxide Chipped Sapphire ink pad and lightly brushed it over the raised portion of the design. After attaching all 3 pieces to the blank, I embellished it with white lace flowers, blue striped baker’s twine, and misc. sequins and rhinestones. I added a sentiment and a navy blue ribbon to finish it off. Thanks for stopping by! Sandy

Springtime Camellias

Image
I finally finished the Easter/Spring cards I made to send out to family & friends. They’re definitely Spring cards now since they’re too late otherwise! I used the Altenew Camellia Outline stamp to emboss the design in gold on 5”x7” watercolor paper, then colored in the design using Cretacolor Aqua Monolith Watercolor Pencils. After using a water brush to activate and move the color, l let them dry then cut the sheets vertically above & below the design without cutting through it. On the other side of the design I cut all the way down set off a bit. After fussy cutting the outer portion of the Camellias that extends over the line, I embossed the sentiments in gold. On plain white cardstock, cut to size, I inked a bokeh design using Distress Oxide Tattered Rose, Iced Spruce, Hickory Smoke, Weathered Wood, and Hero Arts Unicorn. For the interior, I used Cricut Print Then Cut to add text to the frames & size them to fit. After spraying them with a fixative, and letting them