Merry Christmas!
It’s been a long time. Between starting a new job and working on setting up my craft room/office I haven’t had time to do much in the way of making cards. I did do Halloween cards, it’s posted on my Instagram page, but it took a long time to get these Christmas cards made. As usual, they were much more work than I anticipated!
I had seen many cards posted on Pinterest using the Stampin’Up Snowflake Sentiments Bundle. Gorgeous!! I managed to find a set and figured out a design.

I wanted something in blues this year,


The most difficult part was that the dies were sized for A2 cards and I wanted an A7 size. I got around that by cutting the strips of vellum and glitter paper to 6-7/8” long then cutting them twice, once with the full length die and then again using enough of the die off the edge to finish the cut. This left a bit of a gap, but I figured I’d do something decorative to take notice off it.
After cutting single snowflakes from vellum and glitter paper, I cut mats of the print paper that were 2-1/2” x 4-7/8”. I thought about using a snowflake embossing folder on the navy, because some of the cards using this set had embossing, but decided it would be too much.

Very carefully, I added the vellum snowflakes by using some adhesive on the middle where I would be adding rhinestones later.

On the vertical seam I added silver ribbon, glued on the sparkle snowflakes and the iridescent rhinestones. I glued the sentiment angled in such a way as to cover the gap in the die cuts.
I cut 4-7/8” x 6-7/8” mats of the print paper for the inside and printed the greeting for the inside out on white cardstock.
After attaching everything to a navy A7 base I was done, finally!

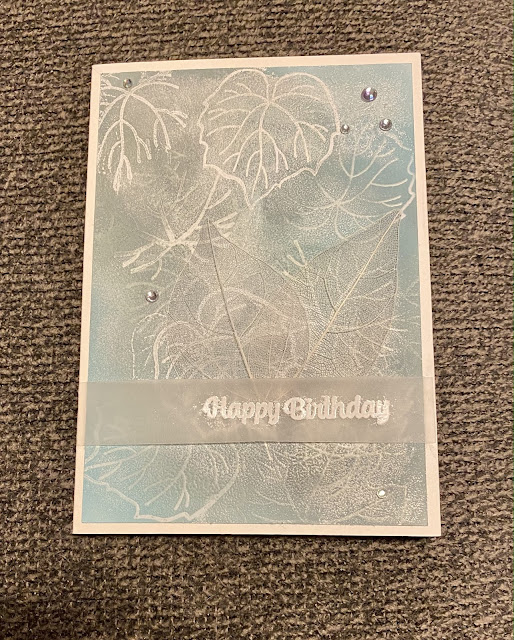
Very pretty!! Great combo of colors and textures with the vellum and glitter paper! Thanks for playing with The House That Stamps Built.
ReplyDelete