Posts

Pale Blue & Silver Brocade
Image
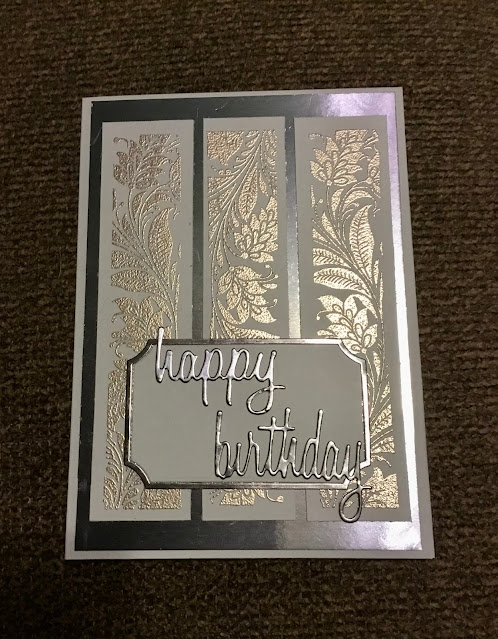
This is the last card I finished today, it uses the Gina K Holiday Tapestry stamp set. I love the brocade look of this band included with the set. I chose a lightish blue for my primary color.  I stamped the band 3 times using Versamark ink and embossed in silver. I then trimmed around the edges. The label is from the Stampin’ Up Painted Labels die set. I cut it twice, once from plain blue cardstock and once from blue mirror cardstock so I could get the shiny frame around it. The mat and sentiment were both cut from the mirrored blue cardstock (Sizzix Tim Holtz Celebration Words die set). I put it all together and was done.  This card, I mean, wow, right? I’m very happy with how it turned out. I don’t want all my masculine cards to be nautical or mechanical. I think this works just fine for a man.  I’ll be entering this card in the  Simon Says: Stamp It challenge, The House That Stamps Built - Theme Challenge S821 ~ Let’s See Your Sparkle and Shine , and the Simon S...
Seafoam & Purple

Image
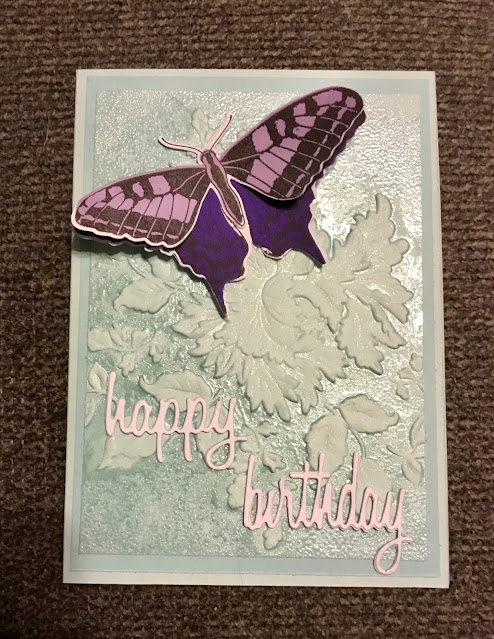
Here’s another one of the birthday cards I just finished. This one uses the same embossing technique as my succulent card but with clear embossing powder instead of gold. The embossing folder is the Altenew 3D Majestic Bloom folder.  I stamped and die cut the layered butterfly using Altenew’s Dovetail Butterfly set with 2 shades of purple ink.The sentiment I die cut 3 times in white using the Sissix Tim Holt Celebration Words set, gluing them together. Last I attached the butterfly & was done. Isn’t this card pretty? I’m loving the shimmer and shine from this embossing technique! It’s definitely staying in my repertoire.  I’ll be entering it in the  DRU Challenge #176- ANYTHING GOES , the Simon Says: Stamp I t challenge, The House That Stamps Built - Theme Challenge S821 ~ Let’s See Your Sparkle and Shine , and the Simon Says: Sparkle & Shine challenge. Thanks for stopping by! 

Shiny Succulent

Image
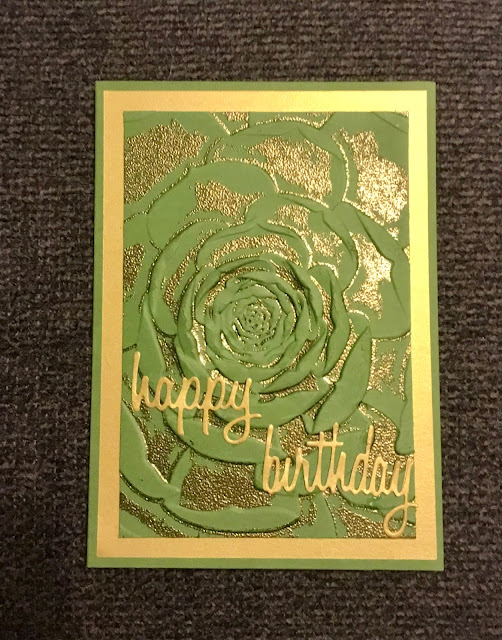
There are a number of September birthdays in my family, so I’ve been making birthday cards. For this one I used the Altenew 3D Mega Succulent embossing folder.  To get the gold accents, I used an embossing technique shown by Jennifer McGuire in this video . The sentiment I cut twice from gold shimmer paper using Sizzix Tim Holtz Celebration Words dies and glued together for a bit of depth. I cut a mat from gold shimmer paper and put it all together on a green card base.  I love how this card came out! It’s so elegant.The picture doesn’t do it justice. I liked it so much I made another like it.  This card I’ll be entering in the  The House That Stamps Built - Theme Challenge S821 ~ Let’s See Your Sparkle and Shine and Simon Says: Sparkle & Shine challenge. Thanks for stopping by!

Pastel Folk Art Card

Image
I’m finally putting this up. Sorry for the delay! For my Labor Day cards I used the Altenew Folk Art stamp & die set. I basically copied a card made by Tricia at InkyPlanner but used watercolor pencils instead of alcohol markers.  After stamping the image on watercolor paper with Versamark ink I heat embossed it in silver. I colored in the design using Cretacolor Aqua Monolith Woodless Watercolor pencils.  These are a high quality pencil that the Altenew Woodless Watercolor pencils are modeled after. Once colored in, I used a Ranger fine tip water brush to wet, activate, and move around the color. Using the coordinating die I cut the design and popped it on a pale gray mat with foam tape. I then attached it to a spring green A2 card base. I didn’t think it needed anything else so left it as is.  I’ll be entering it in the  DRU Challenge #176- ANYTHING GOE S, the Simon Says: Stamp It challenge, The House That Stamps Built - Theme Challenge S821 ~ Let’s See Your S...

Red & White

Image
For the  Simon Says: Red White and/or Blue challenge I decided to stick with red & white since I saw this card that I wanted to use for my inspiration, using white instead of gold. I used Distress Oxide Black Soot to blend around the edges, since it’s an ink that blends easily. I used the Gina K Holiday Tapestry stamp for the background, the label is from the Stampin’ Up Painted Labels die set, and the sentiment from the Colorado Crafts Big Hydrangea set. It’s not as elegant, but did turn out pretty, didn’t it? I’m also going to enter it in the The House That Stamps Built Theme Challenge J3021 ~ Red, White and Blue and the Simon Says: Anything Goes challenge. Thanks for stopping by! Sandy

Summer Pond

Image
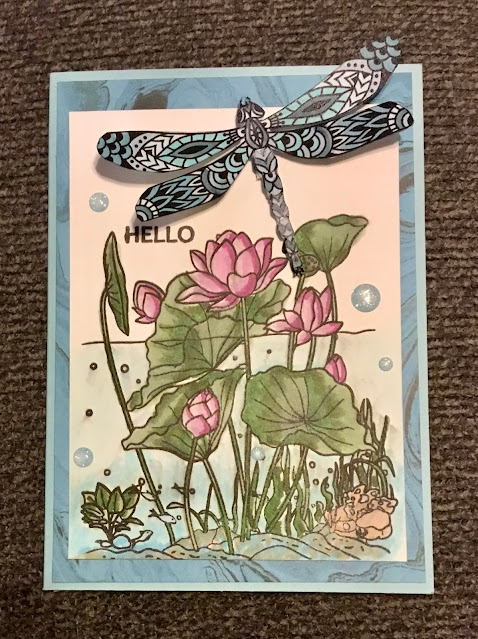
This card took a few different turns. I decided to go with a pond theme for the  The House That Stamps Built Theme Challenge J2321 ~ Scenery and for the 'I love....' Stamping Sensations June challenge. I love lily pads and froggies, so I thought I’d make a pond scene using Altenew Paint-A-Flower Lotus stamp and a die cut frog.  Unfortunately, the triple layer mandala frog pattern I had just would not cut on my Cricut from cardstock. I tried a new blade, making the image bigger, but nothing seemed to work; so I thought maybe I’d try a dragonfly. I do love those colorful dragonflies that zip around the water.  Every dragonfly file I found would have ended up with the same problem, though, so I decided to find a zentangle dragonfly to color with Copics. The stamped lotus flower image is smaller than an A2 card, & I was making an A6 (all I pretty much do anymore), so I found some pretty patterned paper to use for a mat.  I colored both the lotus stamp and dragonf...

Distant Posies

Image
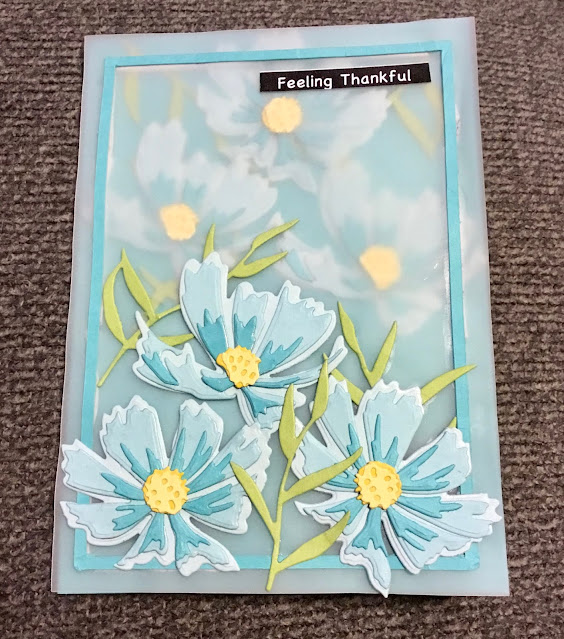
I made this card for both the  Simon Says: We Can See Clearly and DRU Challenge #171. I actually started it last week, die cutting all the flowers to use for a card for 2 completely different challenges, but ran out of time, so here we are! A few changes to my plans and this is what I have instead. I just love how this card came out. The vellum really makes it look like the back flowers are off in the distance, doesn’t it? The die cut flowers are from the Altenew Cosmos Layering Die set. I can tell this is a set I’ll be using again & again. I cut 3 each of both types of flowers and 2 each of the 3 types of leaves. After attaching a frame to the vellum, I added 3 flowers & leaves to the bottom half. The other 3 flowers & leaves I attached to the top of the card base. Next I attached the vellum to the base using foam tape to for depth. I attached a small sentiment and that was it! Thanks for stopping by! Sandy